Is your pantry a jumble of mismatched containers and mystery ingredients? You’re not alone.
When your pantry lacks clear labels, finding what you need quickly becomes a daily struggle. But imagine opening your pantry and instantly spotting exactly what you want—no guessing, no mess. Effective labeling of pantry containers can transform your kitchen into a model of simplicity and efficiency.
You’ll discover easy, practical ways to label your pantry containers that save you time, reduce waste, and make your cooking routine smoother. Ready to turn your pantry into an organized haven? Let’s dive in and unlock the secrets to labeling your pantry containers effectively.

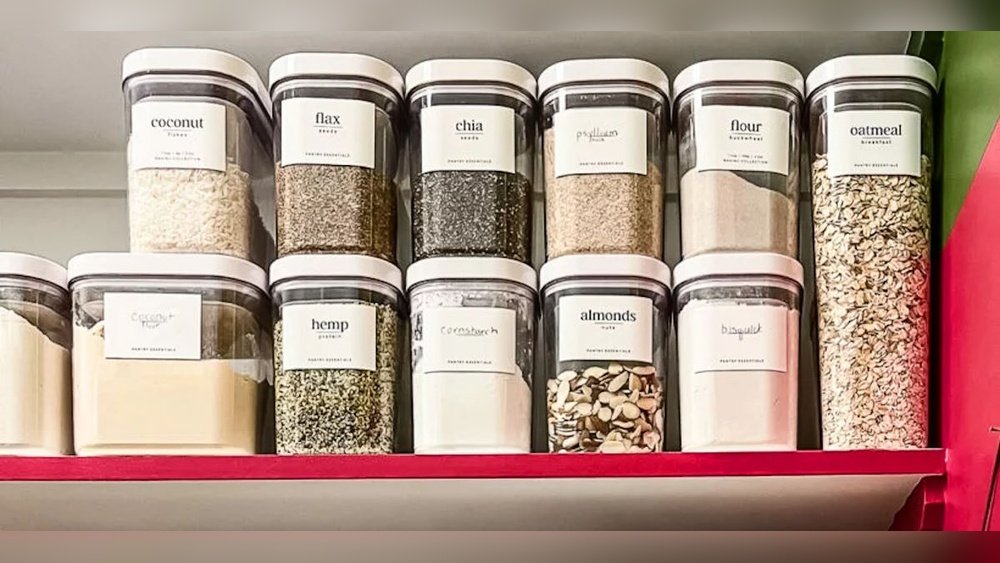
Credit: www.amazon.com
Choosing The Right Containers
Choosing the right containers is key to an organized pantry. Containers keep food fresh and make labeling easier. Selecting containers that suit your needs helps maintain order and saves time. Consider materials, sizes, and surfaces before buying. These factors affect how well labels stick and how containers perform.
Material Matters
Containers come in glass, plastic, and metal. Glass is clear and shows contents well. It is durable and easy to clean. Plastic is lightweight and less fragile. Choose BPA-free plastic for safety. Metal containers are sturdy but opaque. They work well for items needing darkness. Pick materials that fit your lifestyle and pantry style.
Size And Shape Options
Containers come in many sizes and shapes. Use small containers for spices and large ones for flour. Square or rectangular shapes save space better than round ones. Stackable containers make the most of vertical space. Match container size to the food quantity. Avoid containers that are too big or too small.
Surface Suitability For Labels
Labeling works best on smooth, flat surfaces. Glass jars have ideal surfaces for stickers and tape. Some plastics have textured surfaces that make labels peel off. Matte surfaces help labels stick better than glossy ones. Avoid ridged or curved areas for label placement. Choose containers with surfaces that keep labels neat and readable.
Types Of Labels
Choosing the right type of label is essential for organizing pantry containers effectively. Labels help identify contents quickly and keep your pantry neat. Different labels work better depending on the container material and environment. Below are common types of labels that suit various pantry needs.
Printed Labels
Printed labels offer a clear and professional look. You can customize them with fonts and colors to match your kitchen style. These labels stick well on glass and plastic containers. They are easy to read and ideal for long-term use. Use a label maker or print them at home for convenience.
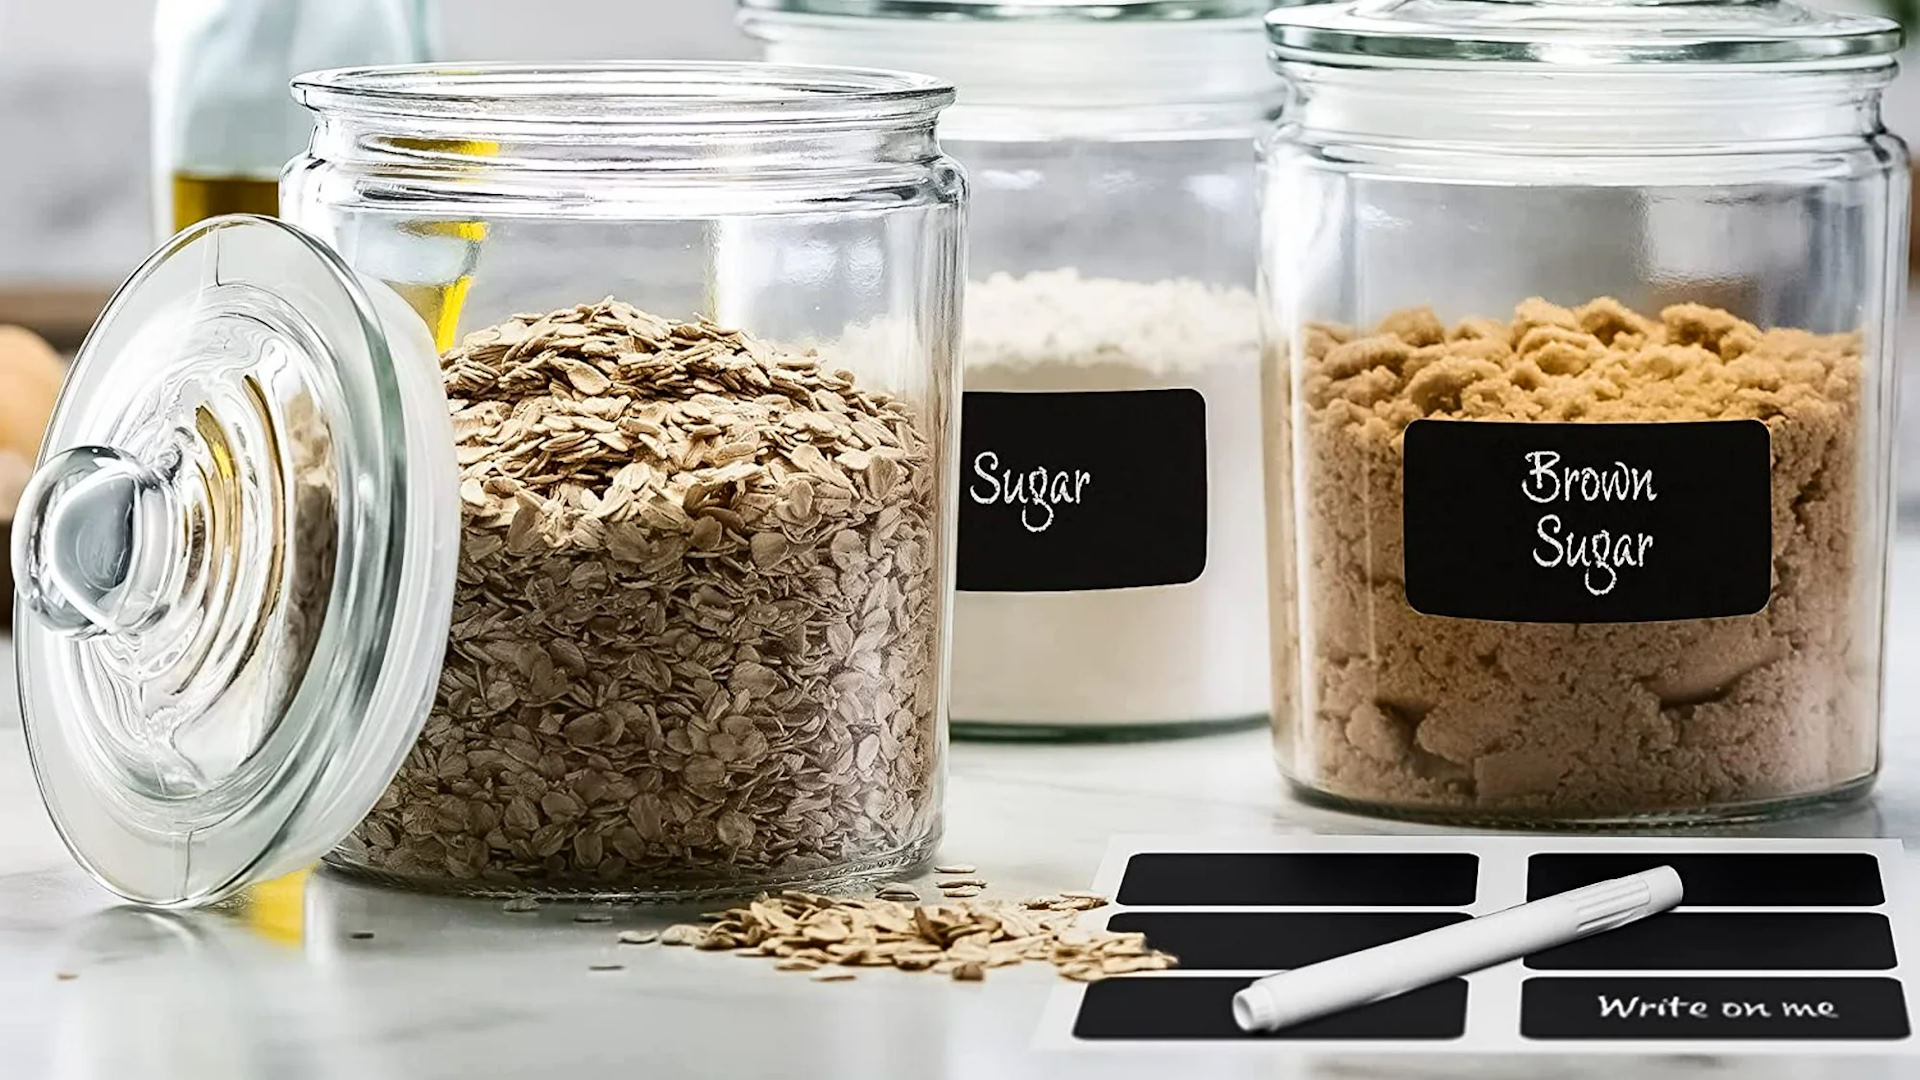
Chalkboard And Writable Labels
Writable labels allow you to change content easily. Chalkboard labels work well with chalk or chalk markers. You can erase and rewrite as needed. These labels add a rustic charm and are perfect for frequently updated items. They stick firmly on jars and plastic bins.
Water-resistant And Freezer-safe Labels
Water-resistant labels protect against spills and moisture in the kitchen. They remain legible even if containers get wet. Freezer-safe labels are designed to stick in cold, moist environments. These labels prevent peeling and fading in the freezer. Great for labeling frozen foods and liquids.
Reusable Labels
Reusable labels can be cleaned and used again, saving money and reducing waste. They often come with special markers that wipe off easily. These labels are perfect for seasonal pantry items or leftovers. Reusable options suit plastic containers and glass jars alike.
Labeling Tools And Supplies
Choosing the right labeling tools and supplies is key to keeping your pantry tidy and easy to use. The tools you select affect how clear and durable your labels are. Some tools suit certain container types better than others. Understanding each option helps you pick what fits your needs and style.
Markers And Pens
Markers and pens offer a simple way to label pantry containers. Permanent markers work well on glass and plastic surfaces. They provide clear, bold text that lasts long. Fine-tip pens suit smaller labels or handwritten notes. Look for waterproof and smudge-proof options to keep labels neat over time.
Label Makers
Label makers create professional-looking labels with ease. They print clean, uniform text on adhesive tape or sheets. Many devices allow font and size customization for better readability. Labels from a maker resist moisture and fading, ideal for kitchen conditions. This tool saves time if labeling many containers at once.
Printable Sticker Sheets
Printable sticker sheets let you design and print custom labels from home. You can add colors, icons, or fonts to match your pantry decor. Choose waterproof or laminated sheets to protect labels from spills. This option offers flexibility and creativity for personalized pantry organization.
Credit: www.garvick.com
Labeling Techniques
Labeling pantry containers clearly helps find items fast and keeps things neat. Choose a technique that fits your style and container type. Each method has benefits for different pantry setups. Here are three easy labeling techniques to try.
Direct Writing On Containers
Direct writing means using a marker or pen to write straight on the container. Use a permanent marker for plastic or glass jars. This method saves time and avoids peeling labels. Chalk markers work well on chalkboard surfaces or matte containers. Wipe off and rewrite if you want to change the label. It is simple and keeps your pantry looking clean.
Using Adhesive Labels
Adhesive labels stick directly to containers. Choose waterproof and oil-resistant labels for durability. Print labels at home or buy pre-made sets. They come in many shapes and sizes to match your jars or boxes. Adhesive labels stay put and look professional. Remove old labels easily by soaking containers in warm water.
Slip-in Label Holders
Slip-in label holders attach to containers with a pocket to slide labels in and out. This method lets you change labels quickly without residue. Use cardstock or printed paper for labels. Slip-in holders work well on bins, baskets, and large containers. They keep your pantry flexible and organized with minimal effort.
Organizing Pantry By Category
Organizing your pantry by category simplifies meal prep and grocery shopping. It helps you find ingredients quickly and keeps your space tidy. Categorizing also prevents food waste by making expiration dates visible. Use clear categories to create a system that works for you.
Grouping Similar Items
Group items with the same purpose or type together. For example, place all baking supplies in one section. Keep snacks in another area for easy access. Grouping reduces clutter and speeds up meal preparation. It also makes labeling easier and more consistent.
Designating Storage Zones
Create specific zones for each category within your pantry. Assign a shelf or container to each group. Store heavy items on lower shelves for safety. Place frequently used items at eye level. Zones keep your pantry organized and help maintain order over time.
Color-coding Labels
Use colored labels to identify different categories quickly. For example, blue for baking, green for snacks, and red for spices. Colors make it easy to spot items at a glance. They add a visual cue that supports your category system. Choose bright, contrasting colors for best results.
Maintaining Label Durability
Maintaining the durability of pantry container labels is key to keeping your kitchen organized. Durable labels stay clear and readable despite daily use. They resist moisture, spills, and frequent handling. This helps you avoid confusion and waste.
Choosing the right methods to protect labels extends their lifespan. Proper care also keeps your pantry looking neat and tidy. Here are practical tips to maintain label durability effectively.
Protecting Against Moisture And Wear
Use waterproof labels or cover paper labels with clear tape. This shields them from water and spills. Avoid placing labels on curved or textured surfaces. Smooth, flat areas help labels stick better. Avoid touching labels with wet or greasy hands. This prevents peeling and smudging.
Cleaning Containers Without Damaging Labels
Clean containers gently with a soft cloth. Use mild soap and water, avoiding harsh scrubbing. Do not soak containers with labels in water. Instead, wipe around the label carefully. Dry containers quickly to prevent moisture buildup. This keeps labels intact and easy to read.
Replacing Or Updating Labels
Remove old labels slowly to avoid residue. Use rubbing alcohol or adhesive remover if needed. Print new labels with clear, bold fonts for easy reading. Update labels regularly to match container contents. This keeps your pantry system accurate and efficient.
Creative Label Ideas
Creative label ideas make your pantry containers both useful and attractive. They help you find items fast and keep your pantry neat. Using simple design tricks turns plain labels into eye-catching markers. This section shares easy ways to make your labels stand out. You can add style and function with just a few touches.
Using Icons And Graphics
Icons and small pictures catch the eye quickly. For example, a coffee cup icon for coffee or a wheat symbol for flour works well. These visuals help everyone in the house identify contents without reading. Use simple black and white drawings or colorful images depending on your style. Printable sticker sheets with icons are easy to find online. This method speeds up finding ingredients during cooking.
Personalizing With Fonts And Colors
Choose fonts that match your kitchen’s look. Script fonts add a cozy feel. Block fonts look modern and clean. Use bold colors for labels on dark containers or soft pastels on light jars. Mixing fonts and colors creates a unique label set. Keep readability in mind by picking clear fonts. Personal touches make your pantry feel welcoming and fun to use.
Incorporating Expiration Dates
Adding expiration dates prevents food waste and keeps items fresh. Write dates in a visible spot on the label. Use a small calendar icon to highlight the date area. Change labels or dates when you refill containers. Some prefer removable labels or whiteboard stickers for easy updates. This simple step saves money and improves pantry safety.
Compliance And Safety Considerations
Labeling pantry containers requires attention to compliance and safety. Clear labeling prevents confusion and reduces risks. It ensures food stays safe and meets health standards. Proper labels help avoid contamination and spoilage. Follow rules set by food safety authorities and workplace safety regulations. This section highlights key tips and OSHA guidelines.
Food Safety Labeling Tips
Always include the product name on the label. Add the date of storage or expiration. Use waterproof and smudge-proof labels to avoid unreadable text. Avoid vague terms like “leftovers” or “miscellaneous.” Specify allergens clearly to protect sensitive individuals. Store dry and wet goods separately to prevent cross-contamination. Clean containers before labeling to ensure adhesion. Regularly update labels to keep information accurate.
Osha Container Labeling Guidelines
OSHA requires labels on chemical containers used in food storage areas. Labels must show the chemical name and hazard warnings. Use standardized symbols to communicate risks quickly. Labels should be easy to read from a distance. Keep labels in English or include a translation if necessary. Ensure labels stay intact and visible during container use. Replace damaged or missing labels immediately. Training workers on label meaning supports workplace safety.

Credit: bienalclosets.com
Frequently Asked Questions
How Do You Categorize Pantry Items?
Categorize pantry items by grouping baked goods, breakfast foods, grains, beverages, snacks, condiments, and oils separately. Use designated areas for each type to maintain order.
How Do You Label Food Storage Containers?
Use clear, waterproof labels or write directly with low-odor dry erase markers on containers. Include food name and date.
How Should You Label Your Containers?
Label containers clearly with printed, waterproof, or chalkboard labels. Use legible fonts and specify contents and dates. Apply labels on the front for easy identification. Choose durable materials that resist moisture and temperature changes. Keep labels simple and consistent for effective organization.
What Are The Osha Requirements For Container Labeling?
OSHA requires containers to have clear, legible labels with product identity and hazard warnings. Labels must comply with the Hazard Communication Standard. Use durable labels resistant to environmental conditions. Update labels immediately if contents change. Ensure employees understand label information for safety compliance.
What Are The Best Materials For Pantry Container Labels?
Use waterproof, fade-resistant materials like laminated paper or vinyl for durability.
Conclusion
Effective pantry labeling makes finding ingredients quick and easy. Clear, simple labels reduce confusion and save time. Use labels that stick well and stay readable. Group similar items together for better organization. Change labels as needed to keep your pantry updated.
A neat pantry encourages cooking and reduces waste. Start labeling today and enjoy a more efficient kitchen.